“CSI” Show Lacks Evidence about how Bombs Work
As I’ve previously written about Bomb Myths in movies, I felt that this example needed to be called out as particularly egregious…
The television show “CSI: Crime Scene Investigation“, also known as “CSI: Las Vegas” featured a team of forensic technicians who used science to uncover evidence in order to solve criminal cases.
In season 9, Lawrence Fishburne joined the cast, playing the character Dr. Raymond Langston.
S09:E11, “The Grave Shift”, depicts “Ray” Langston having a challenging first day on the job as a CSI Level I.
On his second crime scene, the victim is found after an explosion, burned but also embedded with glass shards that also have a yellow substance, later determined to be corn meal.
The gas explosion must have been an accident – but… what about the glass and the corn meal?
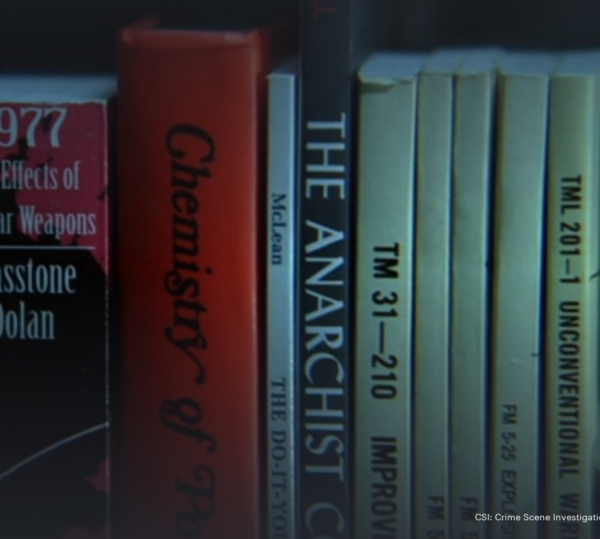
In a brief montage, we see Dr. Ray looking through a library of books, which includes a couple of books that appear to be army field manuals, including one on improvised munitions.
Inside, he finds this:

In the montage, we see Dr. Ray building the device.
Afterward, he and Hodgins (lab tech) set up a test, where they feed natural gas…
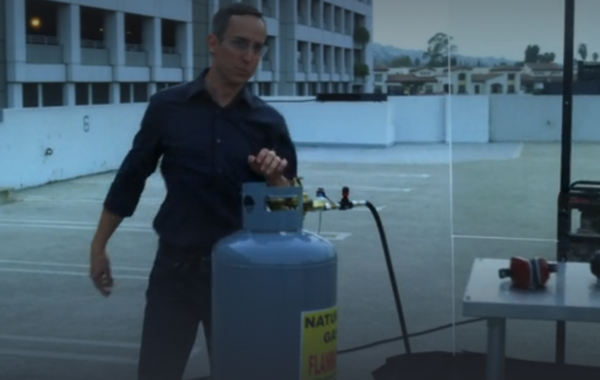
…in to a bag containing the apparatus, and use a generator to power the electrical connection.
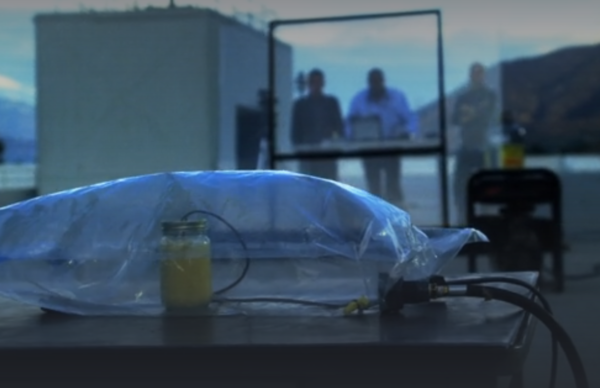
In a CGI sequence, we see the cornmeal inside the jar absorb water and begin to expand…

Eventually, the metal disc inside rises up to meet the two wires, which completes a circuit…

And… BOOM!
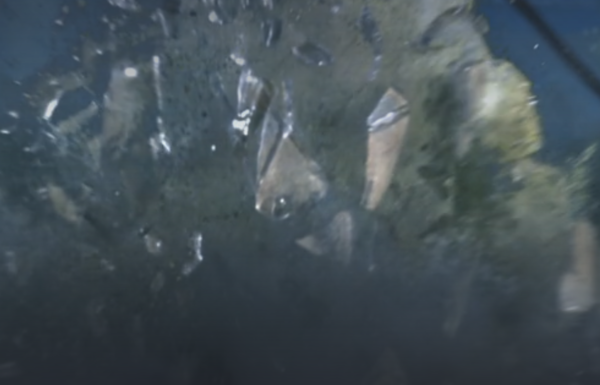
The jar explodes, throwing corn meal and glass shrapnel everywhere, followed by a huge fireball:
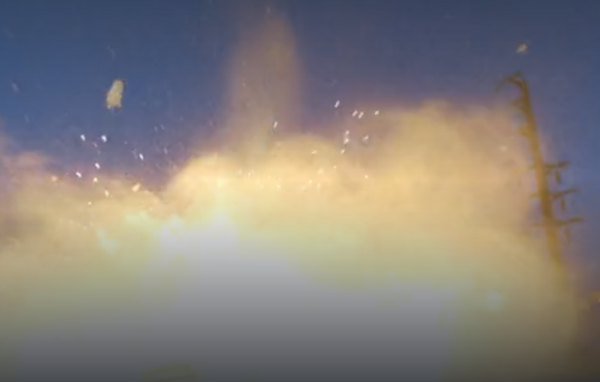
We see Greg, Hodgins, and Dr. Ray watching the aftermath of the “natural gas” explosion.

Amazing! Dr. Ray solved the mystery, and at the same time, proved that the natural gas explosion was actually a murder!
Except…
There are a few problems.
Problems
- Jars filled with corn meal and water don’t explode. Even if some of the natural gas seeped in through the holes in the lid, the jar wouldn’t burst from the inside because corn meal isn’t explosive, especially when mixed with water.
- Not enough oxygen. The stoichiometric air-to-fuel ratio for natural gas is nearly 10 to 1, meaning, you need 10 parts of air (at 20% oxygen) to 1 part of natural gas by volume in order to have complete combustion – that’s about 18% oxygen by volume to about 9% natural gas (2:1).
As the ratio of air to fuel decreases, the amount of oxygen decreases, resulting in incomplete combustion, and three things happen: Less heat, smaller explosion, more residue.
We see natural gas being pumped in to the bag containing the apparatus, but no air, so if the bag only contains natural gas, it wouldn’t even burn, much less explode.
- Not enough fuel. A small bag full of natural gas (assuming the ideal 10 to 1 air-to-fuel ratio), when ignited, will go “bang” and produce a small fireball. It will not produce the huge fireball and burning debris field that you see depicted.
Oh, and…
4. It wouldn’t work.
The Disc Would Not be On Top
As we see Dr. Ray construct the device, he drops the metal disc in to the jar filled with water and corn meal.
In theory, the disc resides at the top of the cornmeal sludge, and as the cornmeal absorbs water, the disc rises with it, eventually contacting the wires, triggering the device.
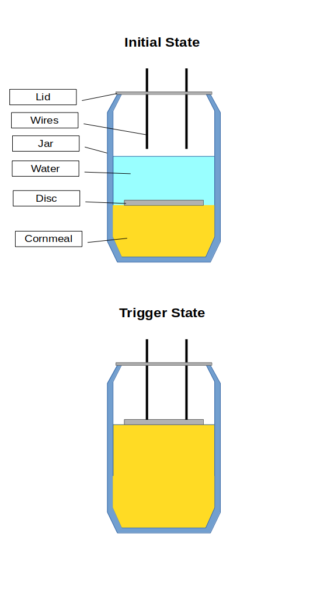
However, in reality, as the disc sinks, it creates a cloud of cornmeal particles, which now reside above the metal disc.

As the temporarily-suspended cornmeal particles settle, they will settle on top of the disc, forming a layer of cornmeal… on TOP of the disc. As the disc rises, so does the upper cornmeal layer, and the wires would be insulated from the disc.
Even in the video, as Dr. Ray drops the disc in to the jar, we see the water form a cloudy suspension.
The reason this happens, is that the opening in a mason jar is narrower than its sides, and therefore, any disc you cut to fit inside the mason jar must be narrower than the opening, and much narrower than the sides. As the disc sinks, turbulent water pulls corn meal particles past the disc.
If you used a soup can with straight sides instead of a mason jar…
And, maybe you should insert the disc before adding water…
Nothing About this Would Explode
As mentioned, unless the laws of physics have changed, mixing cornmeal with water yields not an explosive. It would be great for making corn tortillas or cornbread, but it won’t explode.
Maybe the gas inside the jar is explosive? Nope.
- There is very little gas inside the jar – much less than would be required to burst open the mason jar.
- When the lid was placed on the jar, there was no natural gas (or other combustible gas) inside the jar – there is only regular air inside the jar. Even if some natural gas seeps in through the holes in the lid, around the electrical wires, it would not be a suitable ratio of air-to-fuel in order to burn, much less explode.
- Again, due to the relative seal between the wires and the holes in the lid, IF there was a spark inside the jar at the moment of contact, it would not have any way to ignite the gas outside the jar.
Spark (Arc) Not Guaranteed
In the scene from the show, we see a spark followed by a big explosion, but there is no way to guaranty that the wires will arc. They might arc, but they might not arc. No arc = no explosion.
The wires are almost guaranteed NOT to touch the disc at exactly the same time. The first wire that comes in contact with the disc will energize the disc (negative or positive doesn’t matter).
The second wire that approaches the disc will eventually come close enough to either arc, or complete the circuit without arcing.
- If the second wire arcs, some of the metal will evaporate. This will repeat until either the metal is burned through, or comes in to complete contact with the other wire (might arc, might not arc).
- If the second wire does NOT arc, the circuit will be complete, but there is no spark.
Requires a Detonator
After some digging, I found the actual document referenced in the CSI episode:

Was this actually published by the “Department of the Army Headquarters”?
Unlikely.
In 1969, soldiers were running around the jungles of Vietnam. I have no idea where you’re going to find a mason jar in the jungles of Vietnam.
However, this document contains the following:

Hmmm… this looks awfully familiar…
However, the diagram in the book is completely different from the apparatus depicted in the CSI episode:
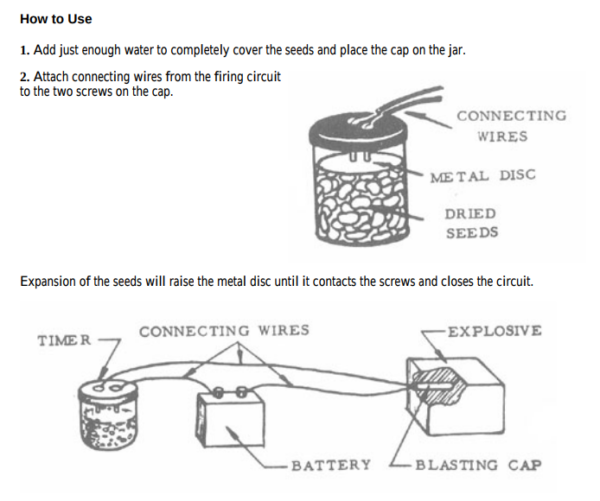
Here, you can clearly see some discrepancies:
- The “seed timer” is a trigger (initiator), not a detonator.
- This rig requires a separate detonator – in case you missed my Bomb Myths article, a bomb requires a small explosive charge called a detonator. In the diagram above, the detonator is a blasting cap. In the CSI episode, there is no detonator nor igniter.
- Assuming that the generator takes the place of a battery, there is no direct connection between the power source and the jar (initiator) and the explosive (natural gas). When the trigger closes the circuit, it doesn’t do anything.
- Seeds are much larger (and therefore more practical) than cornmeal particles.
- The field manual version uses screws instead of bare wire – this helps ensure that the disc touches both terminals at nearly the same time, and ensures that the wires won’t just simply slip out. However, this practically makes the jar air-tight, further ensuring that a spark inside the jar would be completely insulated and incapable of igniting gas outside the jar.
More Practical Timers
If you’re going to blow someone up and make it look like an accident, there are more practical ways that would leave less forensic evidence.
Also, you would have to know in advance the coefficient of expansion of the seeds or cornmeal or whatever substance will be expanding in water, or else you won’t know how much time you have.
Candle Timer
Simple.
Put a scented candle at the far end of the room before you release the natural gas. You have about 15 minutes to leave the scene, and the best part is that the gas will almost always ignite at the proper stoichiometric ratio.
The remains of the candle will be found, of course, but burning a scented candle would seem like an unfortunate accident.
Water Timer
A see-saw is used as the trigger. On the “trigger” end, a weight is affixed. On the other end, a cup or can full of water is affixed. A small hole in the receptacle allows a few drops of water to escape. Over time, the water drains out, and the weight triggers the see-saw, triggering the bomb.
The nice thing about this timer is that if you use a plastic cup, it melts, and the water either evaporates or gets lost in the firefighting efforts, leaving very little evidence.
Egg Timer
…and a couple of wires. Electric, mechanical, or hourglass.
Sandbag Timer
Similar to a water timer, you put dirt or sand in a cloth bag, tied to a rope and pulley. On the other end is a weight. Poke a hole in the bag, and when enough sand falls out of the bag, the weight will drop, triggering the bomb.
Cigarette Timer
A cigarette or small candle is basically a slow-burning fuse.
There are many ways to use this as a time-delay device.
For example, if you light a cigarette and wrap it in foil, then poke a hole in the foil, it will pull air in through the hole.
It will detonate when the stoichiometric ratio inside the foil is suitable for ignition.
Ignition Sources
For any electrically-triggered explosion, as we’ve seen, the trigger itself can’t be guaranteed to make a spark, which means that you still need a separate ignition source.
- Lamp + Broken bulb. Today, light bulbs are florescent or LED and won’t generate a spark. However, there are still many incandescent bulbs floating around out there, especially in older homes. In an incandescent bulb, electricity heats a metallic filament inside the vacuum of a glass bulb.
If you unplug the lamp, then break the glass of the lightbulb, leaving the filament in tact, you have a great electrical ignition source. Set up your timer / trigger using the lamp cord, set it across the room, and plug it in. When the timer completes the circuit, the bare filament will glow red hot, instantly igniting the gas.
- Bare wire. Unplug and cut the cord off of a lamp, then strip back about 3 inches of the insulation from both wires, leaving the frayed ends overlapping slightly. Build the timer / trigger, and plug the lamp cord in. When the trigger completes the circuit, the frayed ends will touch each other, generating a large electrical arc as the small metal fibers vaporize.
- Match head igniter. Like the bare wire igniter, interlace the frayed metal strands around the match heads inside a matchbook. When the frayed ends arc, they will also ignite the matches, producing a more sustained flame.
A simple, compact electrical igniter can be made using a single metal strand from a lamp cord, wrapped around a single match head. This type of igniter can also be set off using a car battery – any electrical source capable of heating or melting the wire will ignite the match head.
Conclusion
If the writers had consulted an expert, the show would have been much more believable:
- A practical timer actuates the trigger.
- An initiator (trigger) causes the igniter to fire.
- The igniter causes the natural gas to explode rather than burn, ideally at an air-to-fuel volumetric ratio of 10 to 1.
